QuickBooks Setup |
||
Before you begin using QuickBooks with Mercury Network, you'll need to a few things:
- Make sure you have a compatible version of QuickBooks installed. You'll find a list of compatible versions here.
- Download and install the QuickBooks Web Connector. You'll find it on this page.
- Make sure you know the names of your Accounts Receivable (AR), Accounts Payable (AP), and Expense Accounts. If you haven't created these in QuickBooks, you'll need to do so before setting up the integration.
When you're ready, here's how to set up the integration:
- Open QuickBooks. QuickBooks needs to be running while you complete the setup process.
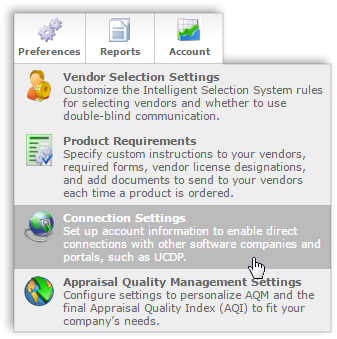
- Log into Mercury Network and click Preferences,
Connection Settings.
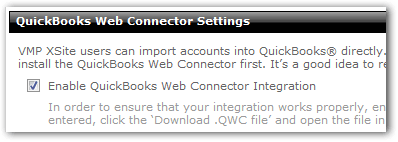
- Check the box to Enable QuickBooks Web Connector
Integration.
- In the fields provided, type the names of your AR, AP, and Expense accounts, then click Save in the upper-left.
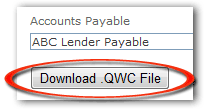
- After you click Save, click Download .QWC
File.
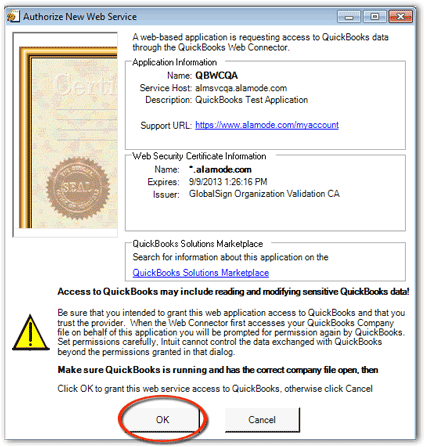
When prompted, go ahead and Run or Open that file. Depending on your browser, you may need to confirm additional security prompts. You'll also see a dialog to Authorize a New Web Service. You'll need to click OK for the integration to work.
- After a short installation, the Web Connector will appear. Here,
you'll need to enter your Mercury Network administrator's password in the
Password field.
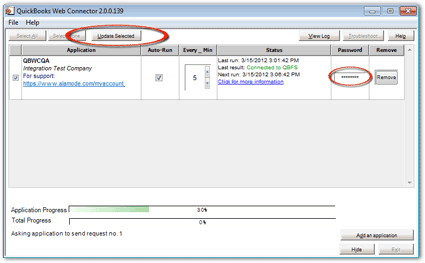
There are also a couple of other options in the QuickBooks Web Connector:
- Place a check in the box in the far left column, then click Update Selected near the upper-left to force the data to sync between QuickBooks and Mercury Network.
- Auto-Run: Check this box, then enter a number in the Every _ Min box. This will make QuickBooks automatically sync on a regular schedule based on the number of minutes you entered.
- If you'd like to make changes to these settings later, you can click the QuickBooks Web Connector icon in your system tray (in the bottom-right corner near your clock.) This will open the QuickBooks Web Connector again so you can make changes to your settings.
That's it. Now you're ready to begin using the QuickBooks integration.
Mercury
Network and its products are trademarks |