Client Group AQM Settings |
||
Follow the instructions below to adjust the automated settings for a Client Group:
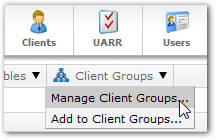
- In the Clients section, click
Client Groups, and select
Manage Client Groups from the drop-down menu.
- In the list of Client Groups, select the Client Group you'd like to edit, and click Edit Group. Or, you can just double-click the name of the group in the list.
- Now, click the AQM tab.
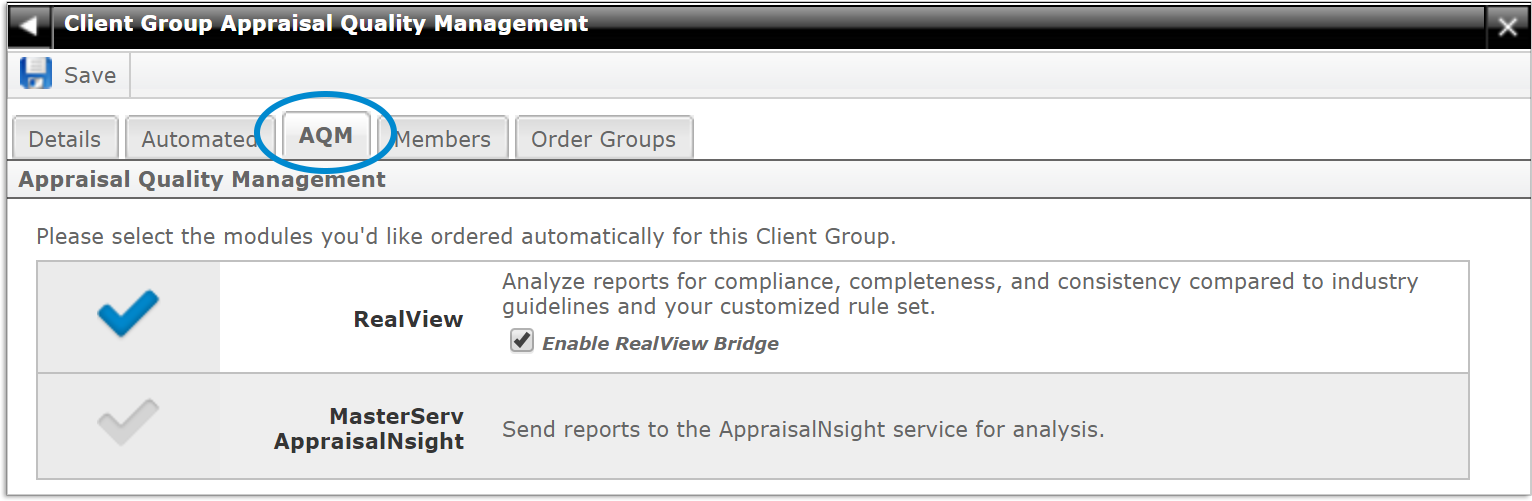
- Place a check next to each module you'd like to automatically order for this Client Group. These include:
- Near the bottom, you'll see a few options:
- Check the first box to order the selected AQM module for every order without prompting the user when the module is started.
- Check the second box to order an AQM module when an order reaches a
certain status. Then, use the drop-down to select whether the AQM module
should be ordered the first time or every time
an order reaches the selected status. Use the next drop-down to
select which status will trigger the order for the AQM module(s).
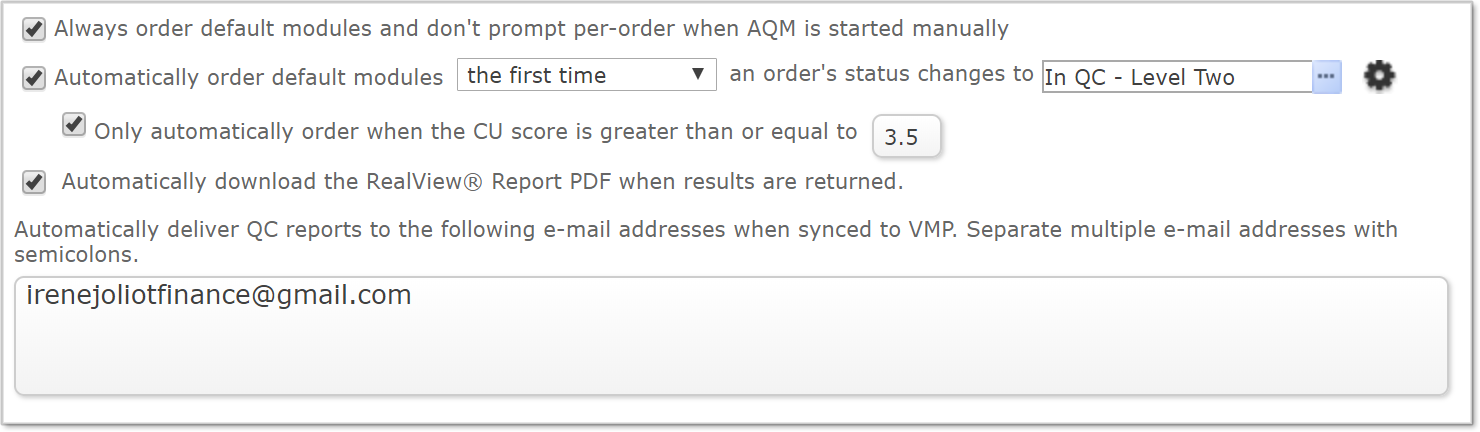
- If you'd like to set a CU (Collateral Underwriter) score threshold (which limits automatic AQM orders to the highest-risk reports) place a check next to Only automatically order when the CU score is greater than or equal to, then enter CU score threshold (to the tenth place) using the drop-down.
- Enter the email address for anyone who should receive the resulting QC reports when the order is synced. Multiple addresses should be separated by a semicolon (;).
- If you would like the RealView Report to be added to the order documents when it is complete, place a check next to Automatically download the RealView Report PDF when results are returned.
- Click the settings icon
 to open the Automatic
settings window. Here, you can select the form and loan types which
will trigger the AQM order. Note that the order must meet the criteria in
both tabs to trigger the automatic order.
to open the Automatic
settings window. Here, you can select the form and loan types which
will trigger the AQM order. Note that the order must meet the criteria in
both tabs to trigger the automatic order.
- In the Form type tab, each AQM module contains a group of
forms. Place a check next to each form type you'd like to automatically
order for each AQM module.
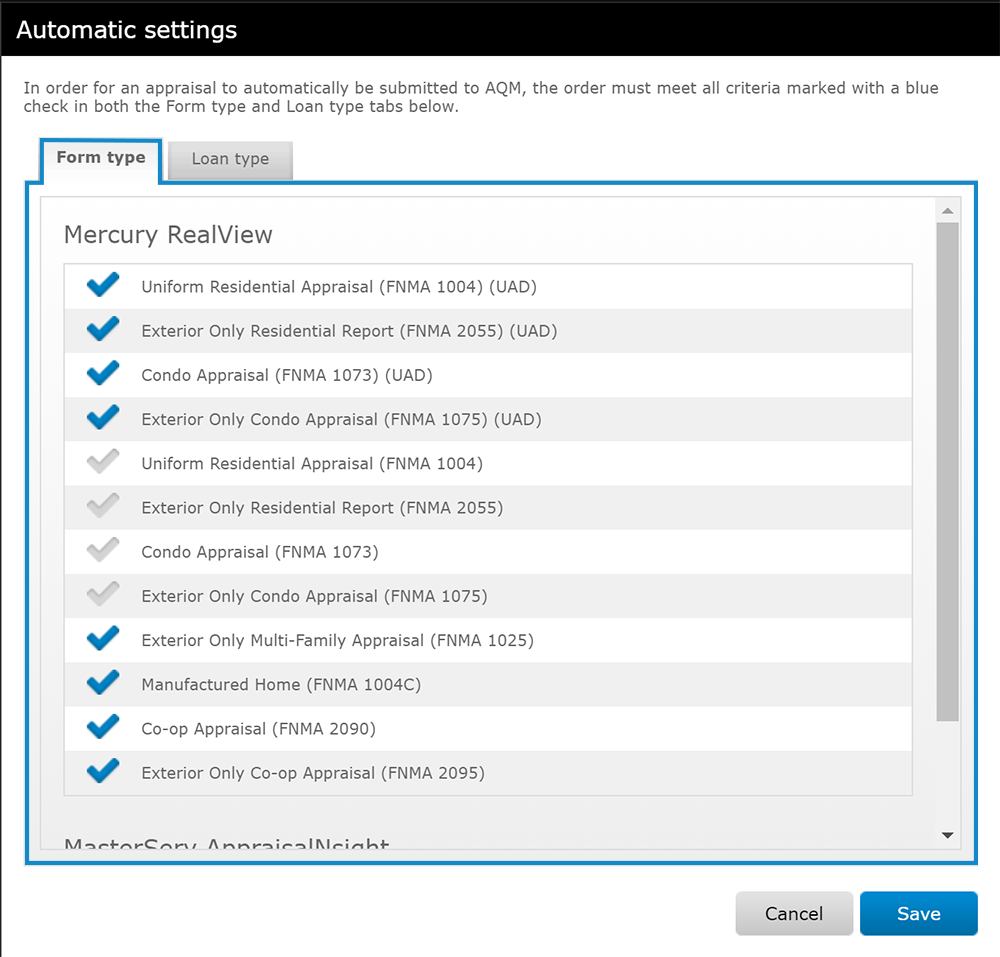
- In the Loan type tab, place a check next to each type of loan
which will trigger the automatic order.
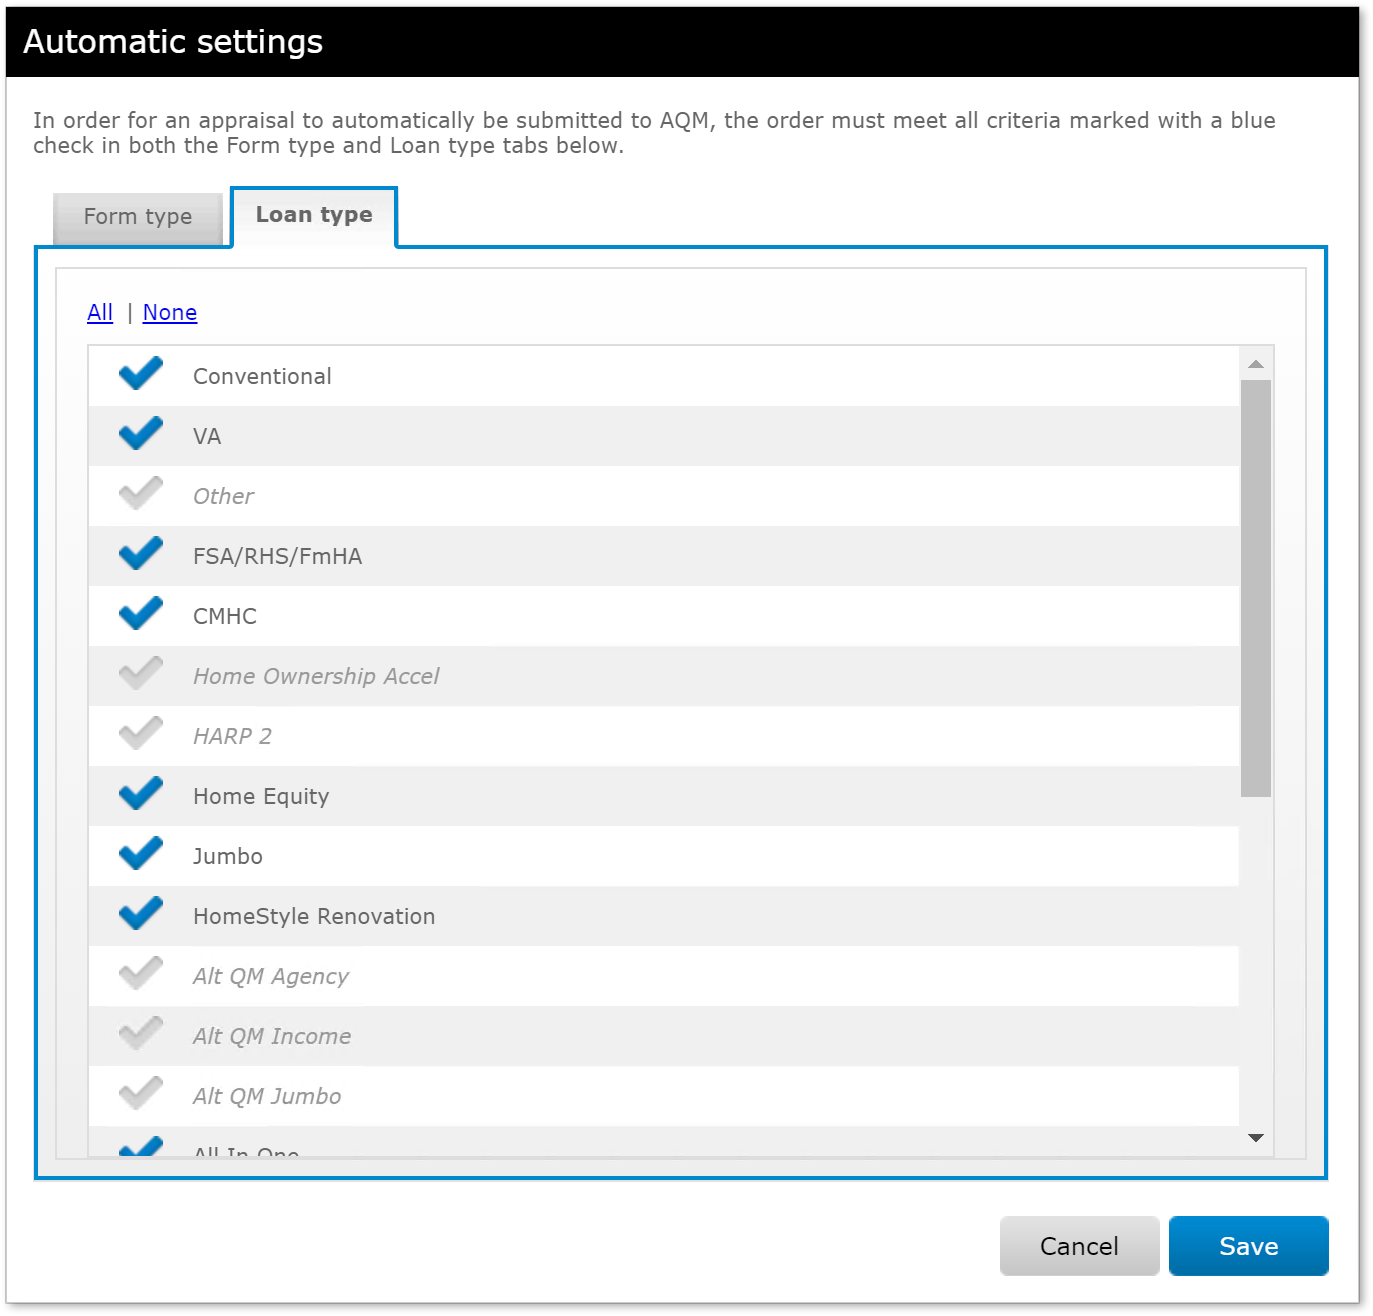
- Click Save when you're done.
- In the Form type tab, each AQM module contains a group of
forms. Place a check next to each form type you'd like to automatically
order for each AQM module.
- When you're finished configuring the automated settings for this
Client Group, click Save on the upper-left. Click the
back arrow (
 ) on the upper left to return
to the list of Client Groups, or click the X icon (
) on the upper left to return
to the list of Client Groups, or click the X icon (  ) on the upper right to return to
your list of clients.
) on the upper right to return to
your list of clients.
Mercury
Network and its products are trademarks |